IntelliJ Plugin
This section describes the TICS IntelliJ Plugin. This plugin can be used in IntelliJ IDEA 2017.2 and later, as well as Rider 2018.1 and later.
Installation
There are two ways to install the IntelliJ plugin: manually or through the TICS Installer.TICS Installer
Under Windows, the easiest way to install the TICS Plugin is to use the TICS client installer.
Close IntelliJ and run the TICS client installer.
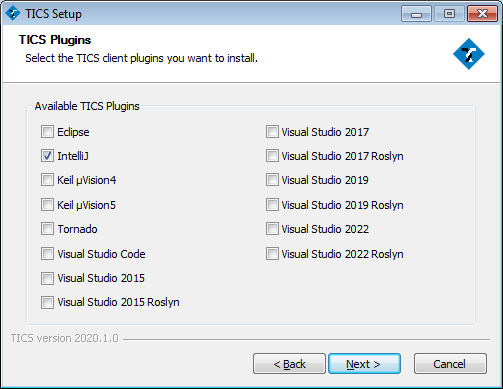
When the TICS Add-ins dialog is shown, select IntelliJ.
The TICS Add-insstep in the TICS installer.
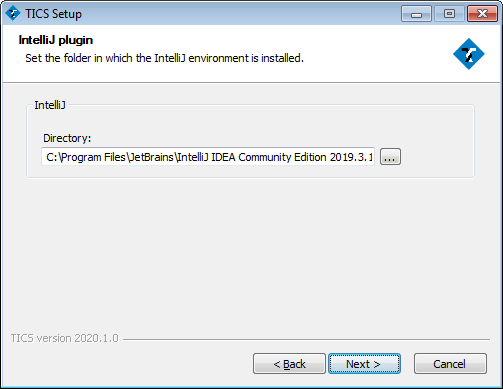
When the IntelliJ plugin dialog is shown, select the IntelliJ installation folder.
The IntelliJ pluginstep in the TICS installer.
Complete the installation.
Manual Installation
Add the TICS Plugin to IntelliJ without installer.
In order to install the TICS IntelliJ plugin manually, you need to manually download a zip distribution of the plugin.
Follow the steps to add this plugin to your IntelliJ environment.
-
Start IntelliJ IDEA and locate the
Settingsoption in theFilemenu.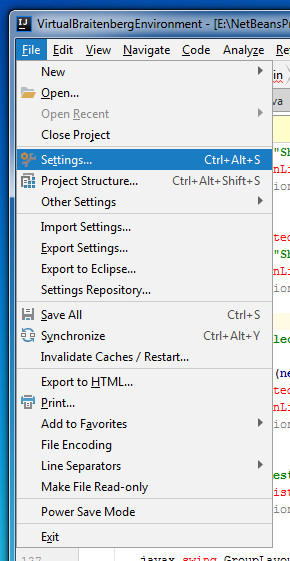
The IntelliJ Filemenu. -
Within the
Settingsdialog, locate thePluginssection.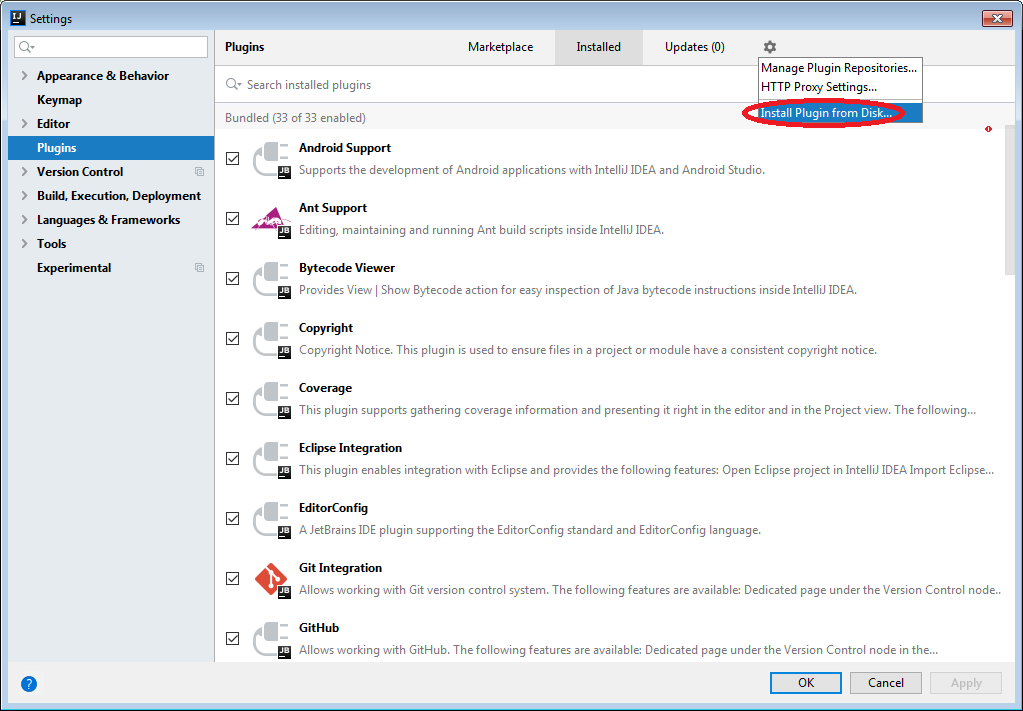
The IntelliJ Settingsdialog. -
Click the Settings wheel and select the
Install Plugin from Disk...menu item to open theChoose plugin filedialog.
The IntelliJ Choose plugin filedialog. -
Restart IntelliJ. The plugin should now be loaded at startup.
Usage
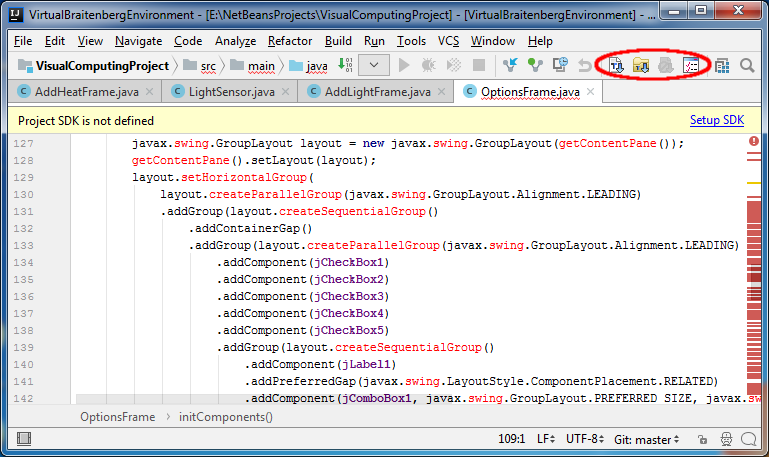
The TICS IntelliJ Plugin provides a toolbar with four buttons.
The TICS buttons have the following meaning.
The IntelliJ workspace with the TICS buttons.
-
 Analyze the active
File: clicking this button starts the TICS analysis. It
results in an overview of the violations of the available coding
standards.
-
 Analyze all files
in project: clicking this button starts analyzing all files in
the current vcxproj project file. It results in a consolidated overview
for all files in the project.
-
 Cancel analysis:
clicking this button cancels the TICS run.
-
 Rules and Options
configuration: clicking this button opens the TICS Configuration Tool.
This tool can be used to configure the behaviour of the TICS Client.
