Creating a new TICS project
There are two methods for creating a new TICS project. The first one is to use the tool TICSMaintenance. This method is a command-line tool, and is therefore best suited for the expert user. For novice users, we recommend using the Build Configuration pages of the TICS Viewer, which gives you a more user-friendly and streamlined experience.
To create a project using Build Configuration, the following steps need to be carried out.
-
Open the TICS Dashboard and open the "Build Configuration" from the application menu in the top-left corner. If you do not see this item, you are not authorized. If this is a fresh TICS installation, you can use the default username/password combination
admin/admin. Otherwise, please ask your TICS Administrator or TICS representative to give you the proper authorization.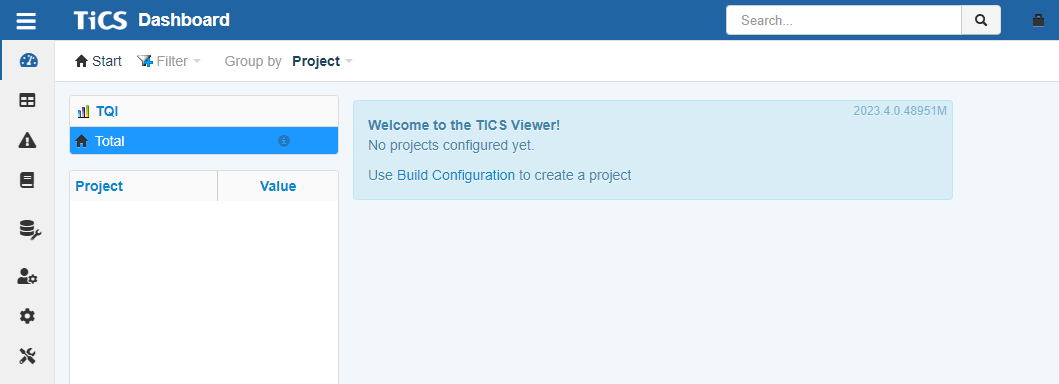
-
Create a new project by clicking on
Add ProjectandCreate Project...(wizard)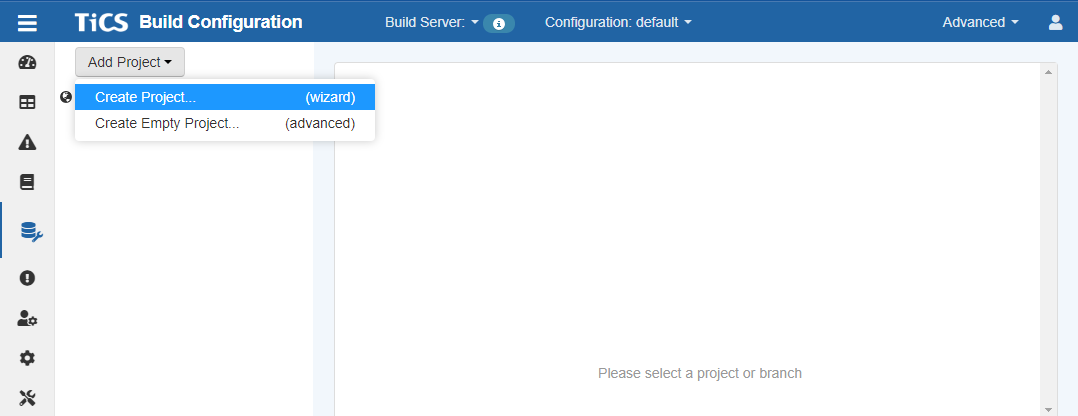
-
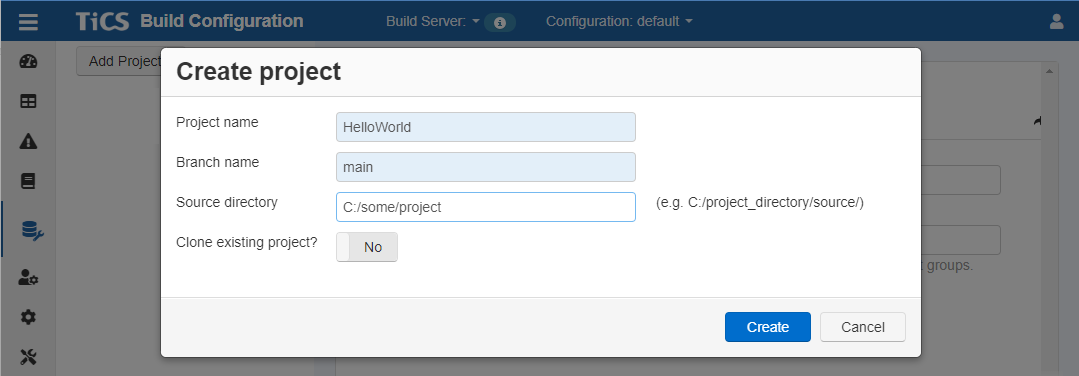
Enter the project properties:
- Name for the new project
- Name of the branch
- Select a directory that corresponds to the root of that branch, i.e., the location where that branch is checked out on the file system
Then press
Createto create the project.