Install the Build Server
The Build Server machine is the machine in your network that is responsible for building the sources. The TICS Build Service component runs on the Build Server and communicates with the TICS Viewer. This makes it possible to invoke a TICS analyze from the Build Configuration of the Viewer for example. This chapter describes how the Build Server is installed.
The build server installation will create Windows Start menu shortcuts to the Viewer components. These only work if the Web Server can be reached.
-
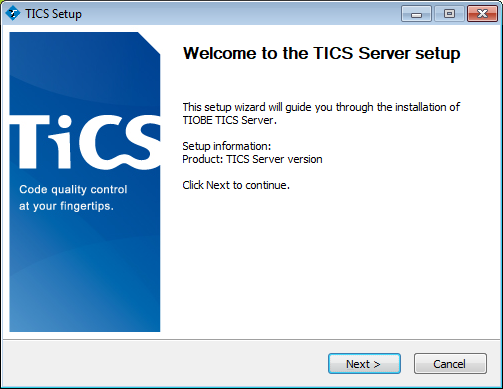
Double click on the TICS setup executable (which was stored in a previous step). Confirm all choices when asked whether you are sure you want to run this software (from an unknown publisher).

-
Click "Next >".

-
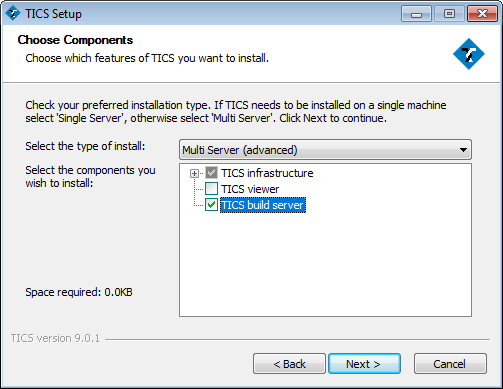
Choose "Multi Server" in the drop-down list and make sure the options "TICS build server" and "TICS buildservice" are checked. "JRE" under "TICS Infrastructure" will also be checked as it is mandatory.
Click "Next >".

-
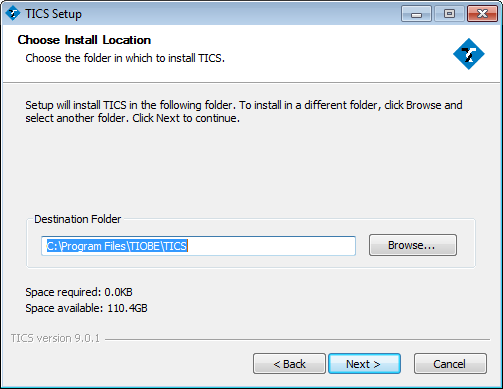
Select the location for the build server as the "Destination Folder", e.g., "C:\Program Files\TIOBE\TICS". A "BuildServer" folder will be generated here by the installer. Click "Next >".

-
Select the location of the TICS Analyzer Configuration, which is an URL pointing at an API endpoint of the TICS Viewer. When the
TICSenvironment variable is already set, then the TICS Analyzer Configuration field is pre-filed with it.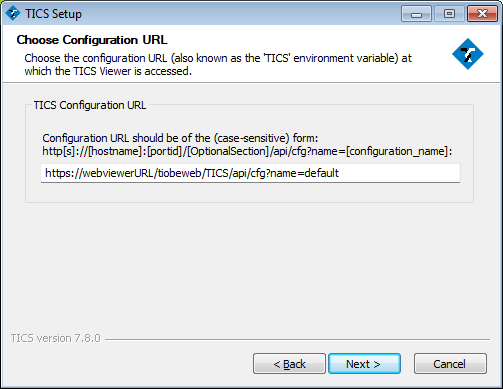

-
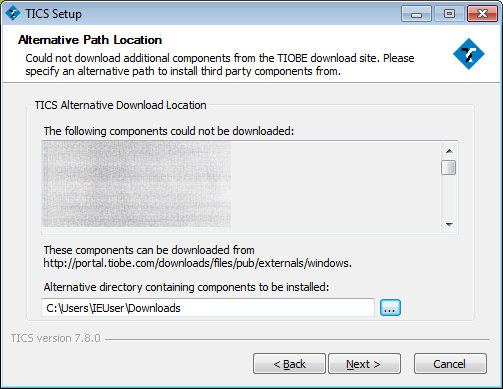
The TICS installer downloads additional components from the internet during installation. If your computer has an active internet connection, you can skip this paragraph.
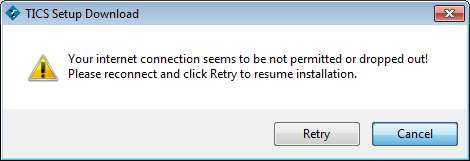
You have to make these components available to the installer. You can download these components in an offline installer package from the TICS download site.If the installer cannot connect to the internet it will ask you to "Retry" or "Cancel". Click "Cancel".
Please provide the location where where the installer can find these prerequisities, e.g. "C:\Downloads". Click "Next >".

-
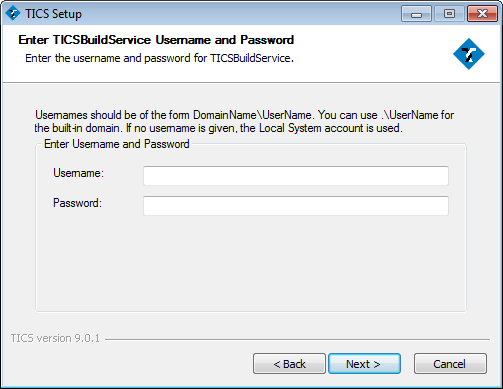
Fill in the username and password for the account that should be used to run the TICS Build Service. If not specified, the local system account should be used.
You can change the account under which it runs via the Windows Services panel, in the TICS Build Service properties.
Click "Next >".

-
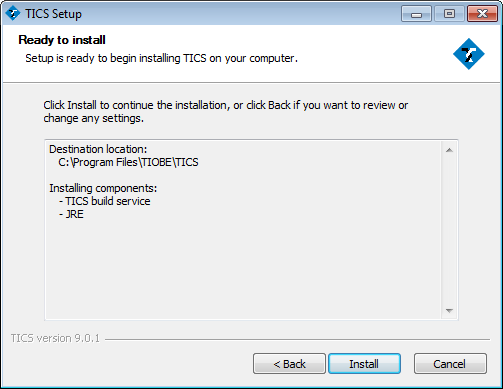
Click "Install".

-
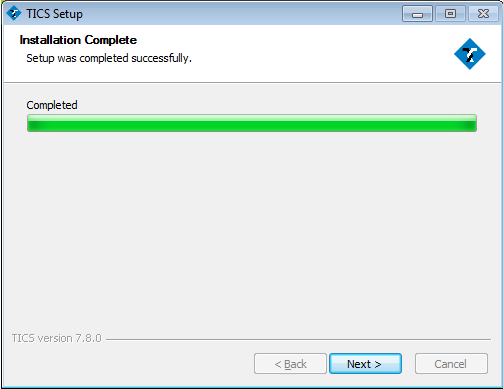
Wait until the installation has completed and click "Next >".

-
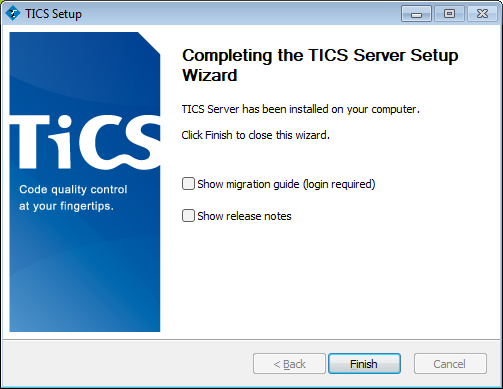
Click "Finish" to close the installer.

-
The Build Server installation is now complete. You can verify if the installation succeeded by opening the "Build Configuration" page in the "TICS Viewer" and checking if there is a connected Build Server in the navigation bar. If this is not the case an orange warning triangle will be shown.

