Install the Web Server
The web server provides the web-enabled views on the TICS quality database(s). The default Web Server of TICS is Apache. Apache is distributed with the TICS setup. The installation consists of the following steps:
-
Double click on the TICS setup executable (which was stored in a previous step). When asked whether you are sure you want to run this software, choose "Run" (Windows XP) or "Yes" (Windows Vista/7).

-
Click "Next >".
-
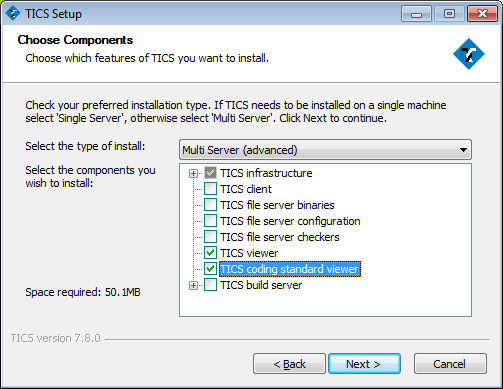
Choose "Multi Server" in the drop-down list and make sure the options "TICS viewer", "TICS coding standard viewer", "JRE", "Apache", "PHP", and "Tomcat" are checked. The latter four can be found by unfolding "TICS Infrastructure".
If you already have Apache installed (e.g., because you have already installed TICS before), or if you would like to use Microsoft IIS, you should uncheck "Apache". When in doubt, leave "Apache" checked: if the installer detects that your Apache version is up to date, the installation of Apache is automatically skipped. Otherwise TICS will upgrade your Apache to the version required by TICS.
Click "Next >".
-
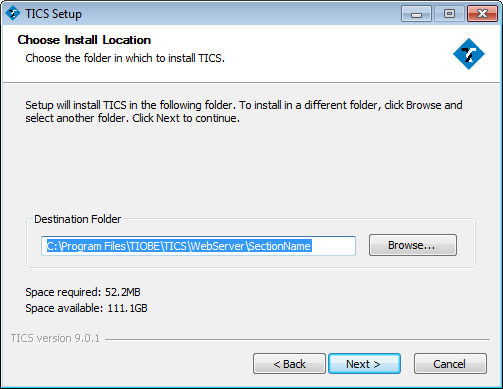
Select the location of a Web Server section as the "Destination Folder", e.g., "C:\Program Files\TIOBE\TICS\WebServer\TICS" and click "Next >".
For more information about TICS sections or if you want multiple Sections, see Configuring Sections.
-
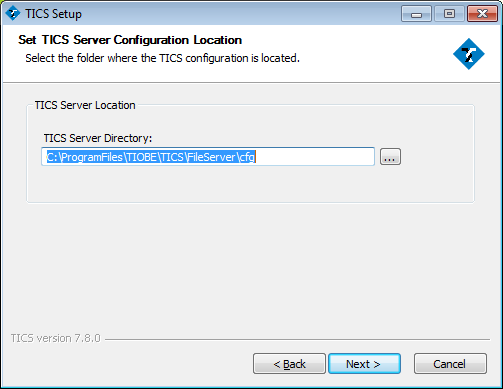
Select the directory of the TICS configuration, typically located on the TICS File Server which you installed in a previous step.
-
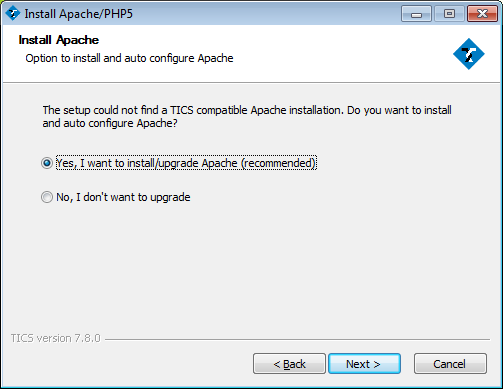
An HTTP server is required for the TICS viewer. Choose Yes to install/upgrade Apache.
Click "Next >".
-
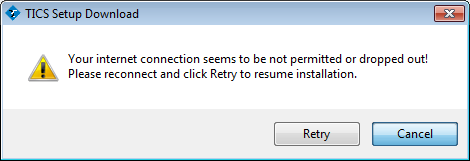
The TICS installer downloads additional components from the internet during installation. If your computer has an active internet connection, you can skip this paragraph.
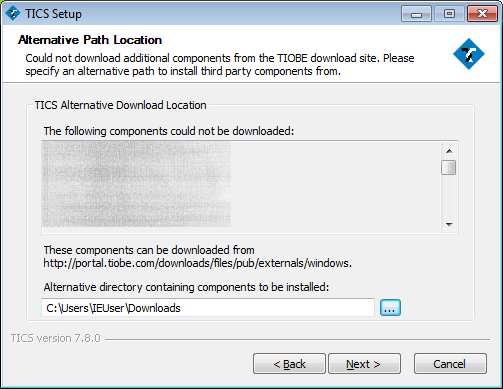
You have to make these components available to the installer. You can download these components in an offline installer package from the TICS download site.If the installer cannot connect to the internet it will ask you to "Retry" or "Cancel". Click "Cancel".
Please provide the location where where the installer can find these prerequisities, e.g. "C:\Downloads". Click "Next >".
-
Click "Install".

-
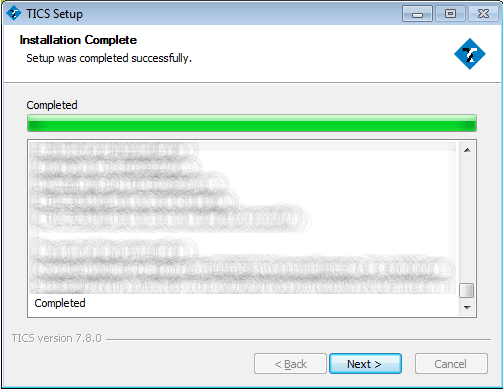
Wait until the installation has completed and click "Next >".
-
Click "Finish" to close the installer.
-
The Web Server installation is complete.