Single Server Install
If you have a single machine that will fulfill the roles of File Server,
Database Server, Web Server, and Build Server, you can follow these simple steps to perform a Single Server install.
If you have more than one machine that will fulfill these roles, please follow the guide for a Multi Server install.
-
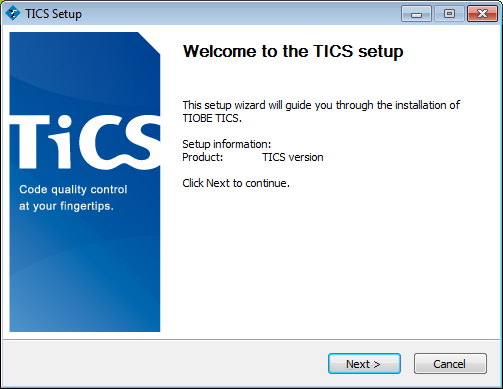
Click "Next >" in the welcome screen.

-
Choose "Single Server" in the drop-down list.
Click "Next >".

-
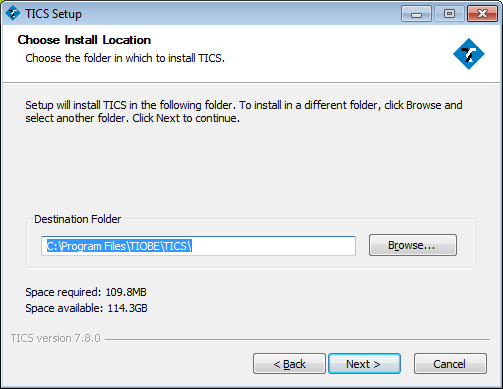
Specify the path where to install TICS, e.g.
"C:\Program Files\TIOBE\TICS".Note: if you select the folder with the "Browse..." button, the installer appends an additional
"TICS"directory.Click "Next >".
-
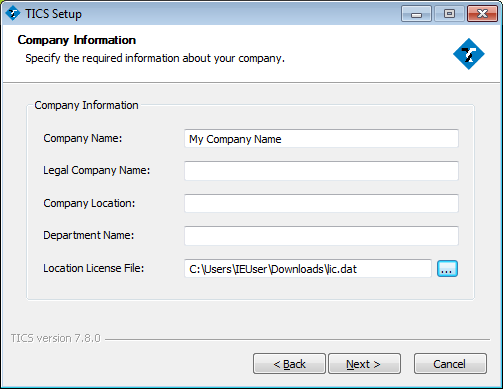
Fill in your company information (optional). Press the "..." to browse for a location license file that you have obtained from TIOBE. If you do not have a license file (yet), you can leave the field blank and ignore the warning. After installation you can place the license file in the
"cfg"directory manually.Click "Next >".
-
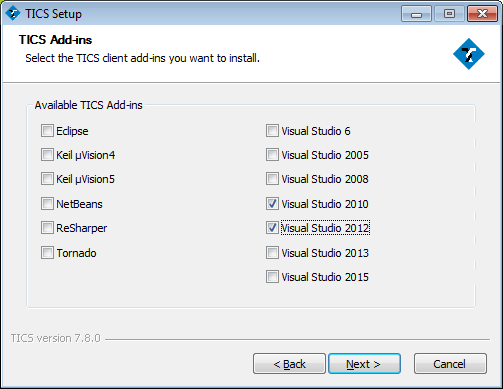
TICS provides add-ins for several popular development IDEs. The installer attemps to automatically detect which IDEs you have installed and checks the options relevant for you. You can override these options. If the machine you run the installer on is not used to develop, you can uncheck these options.
Click "Next >".
-
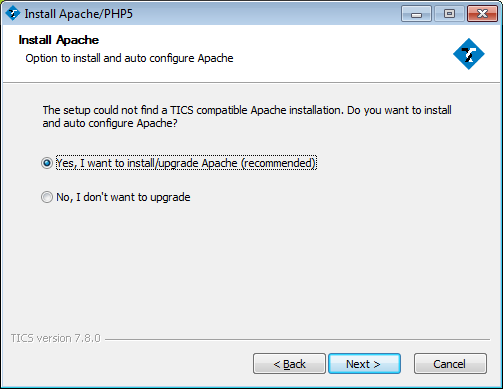
An HTTP server is required for the TICS viewer. Choose Yes to install/upgrade Apache.
Click "Next >".
-
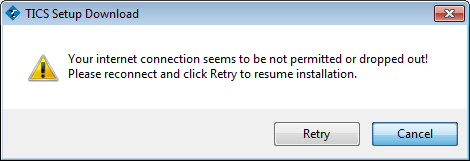
The TICS installer downloads additional components from the internet during installation. If your computer has an active internet connection, you can skip this paragraph.
You have to make these components available to the installer. You can download these components in an offline installer package from the TICS download site.If the installer cannot connect to the internet it will ask you to "Retry" or "Cancel". Click "Cancel".
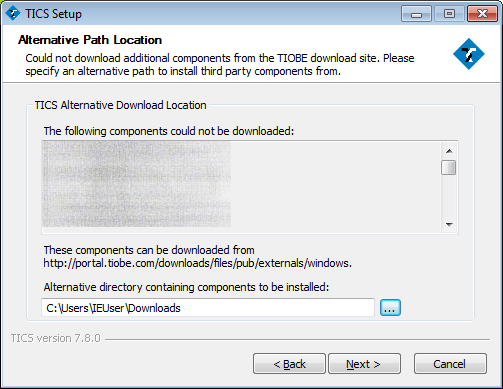
Please provide the location where where the installer can find these prerequisities, e.g. "C:\Downloads". Click "Next >".
-
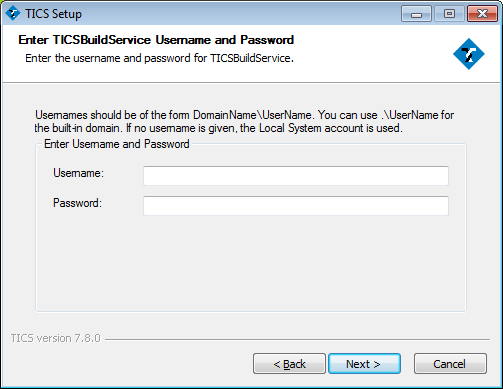
Fill in a username and password for the TICSBuildService (optional).
Click "Next >".
-
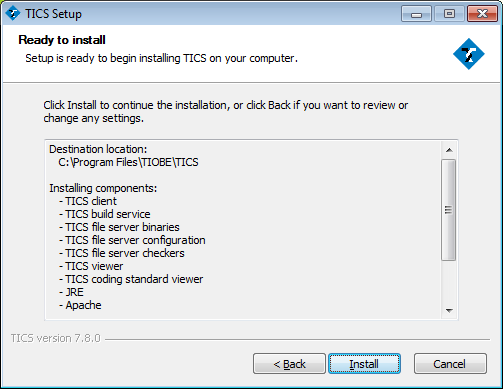
Click "Install" to begin the installation.
-
Depending on your connection, this step might take quite some time, since the installer has to first download the additional components before it can start installing them.
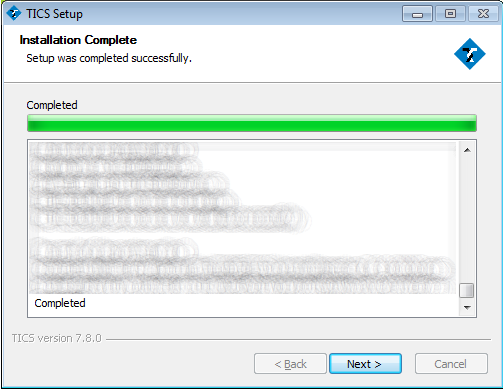
Click "Next >" once the installation is completed.
-
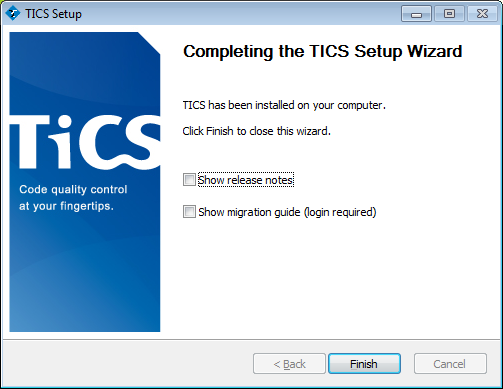
Click "Finish" to close the installer. You are ready to start using TICS!