Install the File Server
The File Server hosts all TICS executables, codechecker executables, and the central TICS configuration. This chapter only describes how the File Server is installed. TICS configuration and usage details are described in the TICS Administration Guide.
-
Choose and optionally create a directory on the designated File Server machine in which the TICS installation of the File Server will be performed. Throughout this guide it is assumed to be the directory
"C:\Program Files\TIOBE\TICS\FileServer"(this is the recommended location).
-
Right click on the directory in which the File Server will be installed and select "Properties".

-
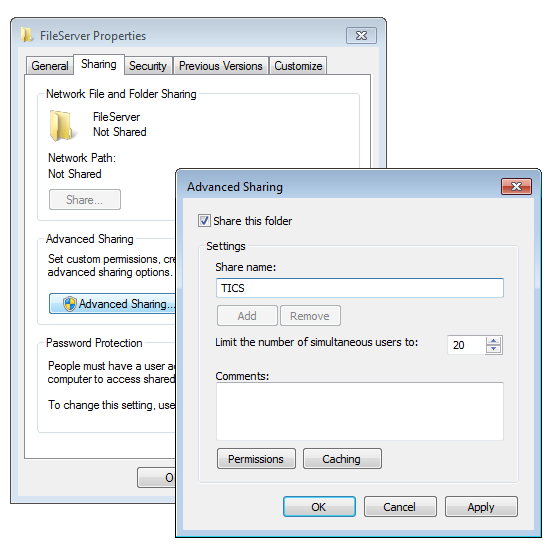
In Windows XP: Select the "Sharing" tab and select the option "Share this folder". Choose as "Share name" the name " TICS".In Windows Vista/7: Select the "Sharing" tab, select "Advanced Sharing", and check "Share this folder". Choose as "Share name" the name " TICS".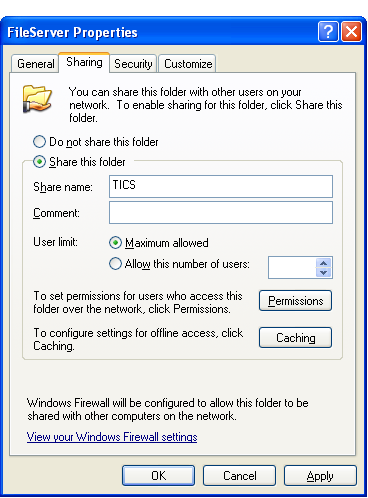

-
Double click on the TICS setup executable (which was stored in a previous step). When asked whether you are sure you want to run this software, choose "Run" (Windows XP) or "Yes" (Windows Vista/7).

-
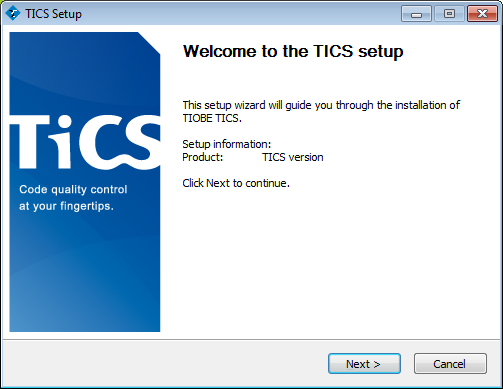
Click "Next >" in the welcome screen.

-
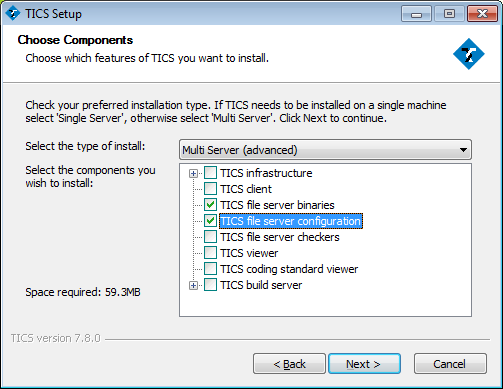
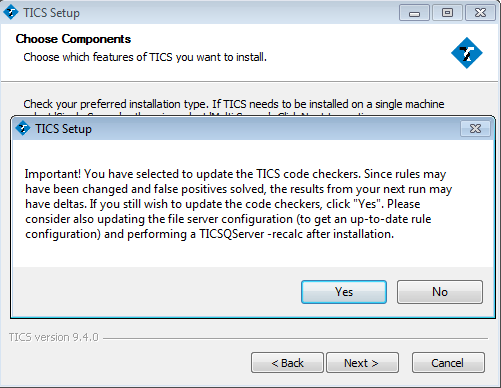
Choose "Multi Server" in the drop-down list and make sure only "TICS file server binaries" and "TICS file server configuration" are checked.
TICS uses several code checkers to examine your code. Depending on which programming language is used and on which coding standards should be checked, TIOBE code checkers or third party code checkers can be installed. These will be included in the installation if "TICS file server checkers" is checked. If you are not sure which code checkers should be installed, please refer to your TIOBE contact.
Note that the installer will not overwrite any existing configurations.
Click "Next >". Read the warning pop-up and press "Yes" if you still wish to install/update.

-
Specify the path to the desired TICS File Server directory on the File Server machine for the "Destination Folder", e.g.
"C:\Program Files\TIOBE\TICS\FileServer"and click "Next >".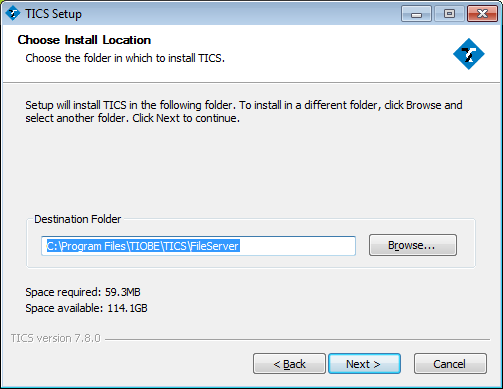

-
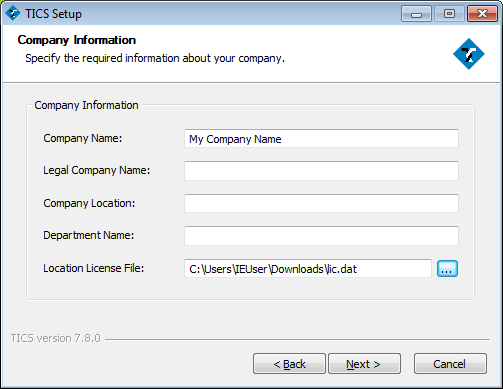
Fill in your company information (optional). Press the "..." to browse for a location license file that you have obtained from TIOBE. If you do not have a license file (yet), you can leave the field blank and ignore the warning. After installation you can place the license file in the
"cfg"directory manually.Click "Next >".

-
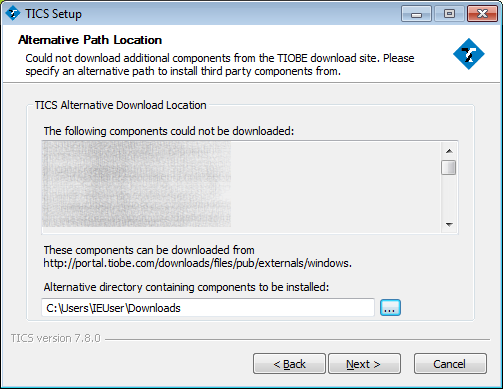
The TICS installer downloads additional components from the internet during installation. If your computer has an active internet connection, you can skip this paragraph.
You have to make these components available to the installer. You can download these components in an offline installer package from the TICS download site.If the installer cannot connect to the internet it will ask you to "Retry" or "Cancel". Click "Cancel".
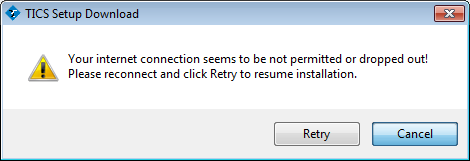
Please provide the location where where the installer can find these prerequisities, e.g. "C:\Downloads". Click "Next >".

-
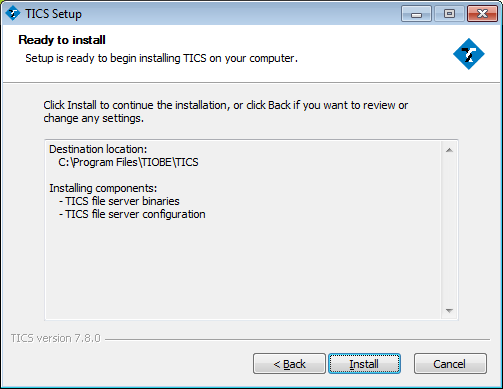
Click "Install" to install the File Server.

-
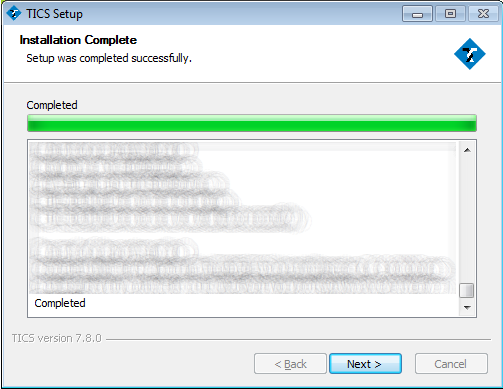
Depending on your connection, this step might take quite some time, since the installer has to first download the additional components before it can start installing them. Click "Next >" once the installation is completed.

-
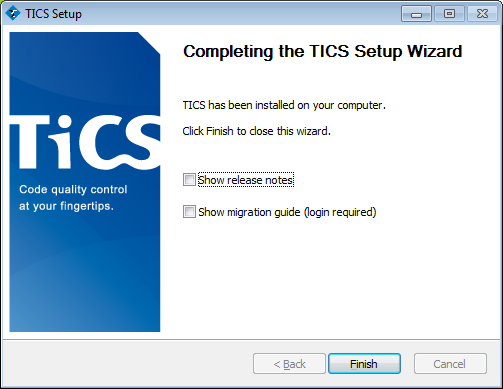
Click "Finish" to close the installer.

-
The TICS File Server installation is now complete.